Friday, April 29, 2016

Boiling Fresh Eggs


Who doesn't love boiled eggs?! Okay don't answer that; I have met several people silly enough that they didn't like hard or soft boiled eggs! Odd! Seriously oddness!

Now that my hens have settled into a normal routine of 7-9 eggs daily, I sell 1-2 dozen a week. Either that or I'm overwhelmed with eggs!
Like the other day, I sold 28 eggs to a friend, 24 to another, boiled 18 and still had a full 18 left over for baking and cooking!
All of them, each and everyone less than 3 weeks old!


Now its hard to tell, you may need to click the photo - the upper right picture of the eggs you can see a small hole in the tippy top of each egg. 
This is something you NEED to do when boiling farm fresh eggs! The reason store bought eggs peel better than backyard eggs is they are OLD.
Air and time have changed the lining inside of the egg - making it easier to peel.

While you could wash your fresh eggs, cartoon them, place them on a shelf at the back of your fridge wait two months and have the same benefit - why would you?
Especially when all it takes is gently using a small push pin to make a small hole at the tip of each egg - the flat wide bottom not the sharper point, your goal is to puncture the air bubble normally found at the bottom of the egg.

Photo 1 Top - Fresh Eggs
Photo 2 Top - holes poked, waiting to boil
Photo 3 bottom - peeled, freshly boiled eggs
Photo 4 bottom - waiting to be peeled, boiled eggs. To make my life easier I use a trick my mother taught me. She'd boil, dry and mark each boiled egg with a B.

For 18 eggs I boil a large pot of water - wait for a rolling boil. Add the eggs into the boiling water and wait 15 minutes.
After 15 minutes, I pull them out and immediately put them into an ice bath. When they've cooled down completely I dry, mark them and place them in the refrigerator for future use.

http://garriscooking.blogspot.com/2016/04/boiled-egg-salad-sandwiches.html


http://ourbitofdirt.blogspot.com/

Thursday, April 28, 2016

Planting and Prepping for Cucumbers


Cucumbers! 

This is a odd one for me to plant year after year - last year I planted too late and didn't water enough -  that however isn't what makes it odd, the fact that I am highly allergic to fresh cucumber is.
I found out a few years ago, after a few trips to the ER, that I was allergic to an enzyme in cucumbers.
Luckily for me its a very basic enzyme that breaks down once its cooked or pickled. So I can pickle! Two years ago a wonderful neighbor gave me a large batch of leftover cucumbers (giving and sharing vegetables is common practice in Utah we are still very neighborly) and I tried my hand at pickling and canning for the first time ever.
Oh my YUM! Those were the best pickles I've ever had! Which makes this project a project of love for my whole family - everyone of us LOVED those pickles and wants more.


First we picked our area. Turned it over a few times, raked everything out, turn it over once more to check it. 
Then added in a mix of compost and bunny poop. (We recently added in the bunnies so its not fully mixed into the compost yet.)
After the soil was ready we went to work fixing the cucumber trellis my hubby made for me last year. This time we will be planting them in the front and in the back - we added a string net lattice to help the plants grow up the back wall as well.

Now with the wide frame, built to maximize the amount of cucumbers we get, there is a lot of empty room at the base.
We planted spinach under the frame and will see this year how well it does, so far the spinach in my grow box is great in the spring but dies off in the summer heat. I'm hoping that a later spring planting of spinach here will do better since it will have the shade of the cucumber plants to help keep the sun off of it.

We started the cucumbers off inside and allowed them to grow extra leaves - sometimes this works well and others times they all die. I have back up seeds ready to plant this weekend directly into the ground in case the cold weather kills them off.
Gardening is not an exact science and I don't mind telling you I have back ups for my back ups to ensure a good timely crop that will have a higher yield.
Make sure to have a plan A, B and a C just in case. Weather and time are always working against the gardener.


http://ourbitofdirt.blogspot.com/


Wednesday, April 27, 2016

Wheat Grass


Growing wheat grass is easy, simple and very quick. It is a great addition for both our chickens and our rabbits!
Our rabbits eat pellets, weeds, cut grass and fresh wheat grass, along with chew toys (fruit tree branches) and the odds & ends veggie treats that we give them sparingly.

For our chickens we add a small handful of wheat grass seeds into a dish or shallow pan, fill with water and soak them for 10-12 hours.
Then we pour the excess water off and cover with them with damp paper towels keeping the seedlings wet but not drowning.
They grow rapidly and only need the paper towel 1-2 days.
Any time after sprouting green tips you can spread them out and give them to your chickens.
We normally wait a week until they are 1-2 inches.

Our hens LOVE wheat grass day! 


We've also been growing the wheat grass indoors for the rabbits as well, however as you can see from the top photo our newly sewn rabbit rooftop planter is almost ready for our rabbits to munch on.


The wheat grass planted in soil is much thicker and richer, than the inside water ones. It will be much better for the rabbits to eat than the small bits they've been getting so far.
I adore how the new hutch is working out and can't wait to get started on the grow out boxes for the kits!

Adding the planter to the top of the hutch did a few things (and yes its fully lined to keep water off the rabbits).
1. Its reusing space - this is key when you are urban homesteading like we are.
2. Adding the wet soil, plants and needing to keep it wet will also help cool off the rabbits in the hot summer.
3. The lip hangs out a few inches to keep the water/rain run off from pouring straight into the cages.
    Dry bunnies are happy ones.

Fresh grass is good for both rabbits and chickens. It adds vitamins and nutrients - the great thing is its not limited to just wheat grass for chickens. My all time favorite chicken blog Fresh Eggs Daily has a post on sprouts for chickens and ducks HERE. Check it out for more ideas.

As for rabbits I'm still exploring their extra food and how to grow it on a budget. This is a huge step to that end - fresh, healthy and budget friendly!


http://ourbitofdirt.blogspot.com/

Tuesday, April 26, 2016

Composting 101


When you think of composting several different methods may spring to mind. Rotating barrels, bins with worms or a big pile that some unlucky member of the family gets to turn over every now and then with a shovel or pitch fork.

The problem is when you look up how to's or DIY you will find them all listed under the same heading.
Compost.
Each one will sing its praises! Each one will tell you that you need to try that composting system and how wonderful it is.

While each one is wonderful, and can be the best thing you've ever tried or added into your gardening - it could also be the worst thing, a hassle or even worse not work at all.

So let me explain (a little, I'm not a expert I just love research). There are three main ways to compost.
Wet, Dry & Worms.
Each will add many amazing benefits to your garden - if done correctly. Also I'd like to add, this is not the whole of composting, composting is as diverse as the people who garden!

The first most important thing you need to do is figure out what is going into your future compost pile.
If you have tons of vegetables, lots of long grass and fruit trees (or trees that shed leaves) you may want to look at a Wet system or a Worm bin.
If you have all of the above but only a few trees or a small area of grass - a wet system would be great!
A dry system for lots of veggies and leaves isn't that great and will likely attract bugs and or smell.
If you have an acre of property, lots of trees, grass ect, worms might be better - they can tear through a pile of leaves and churn it into mulch in record time.

A wet system can be done in a barrel, tumbling system or simply by marinating certain mixes.
Later on in the summer as a boost I'll make a rabbit poo compost tea. Simply take a large bag of rabbit poop, place it in a large container of water - marinate for a day or so then use the water to water your plants.
A tumbling system is great, you keep every part of your compost. Depending on heat temps you can create a very usable product in a months time.
Down side to tumbling systems is if you have lots to add - you can quickly run out of room.
Or have lots of poop - the stench of wet moist poop is really nasty.

Worms are ravenous creatures (if you get the correct ones) they can break down a large amount of food in very little time.
However they need a proper mix of food, moisture and temperature. Too much of one thing, to little of another can kill them.
Worms also require care, just like any living thing you can't set it up and walk away for the winter.
This is great if you throw away lots of table plant scraps.

I use 
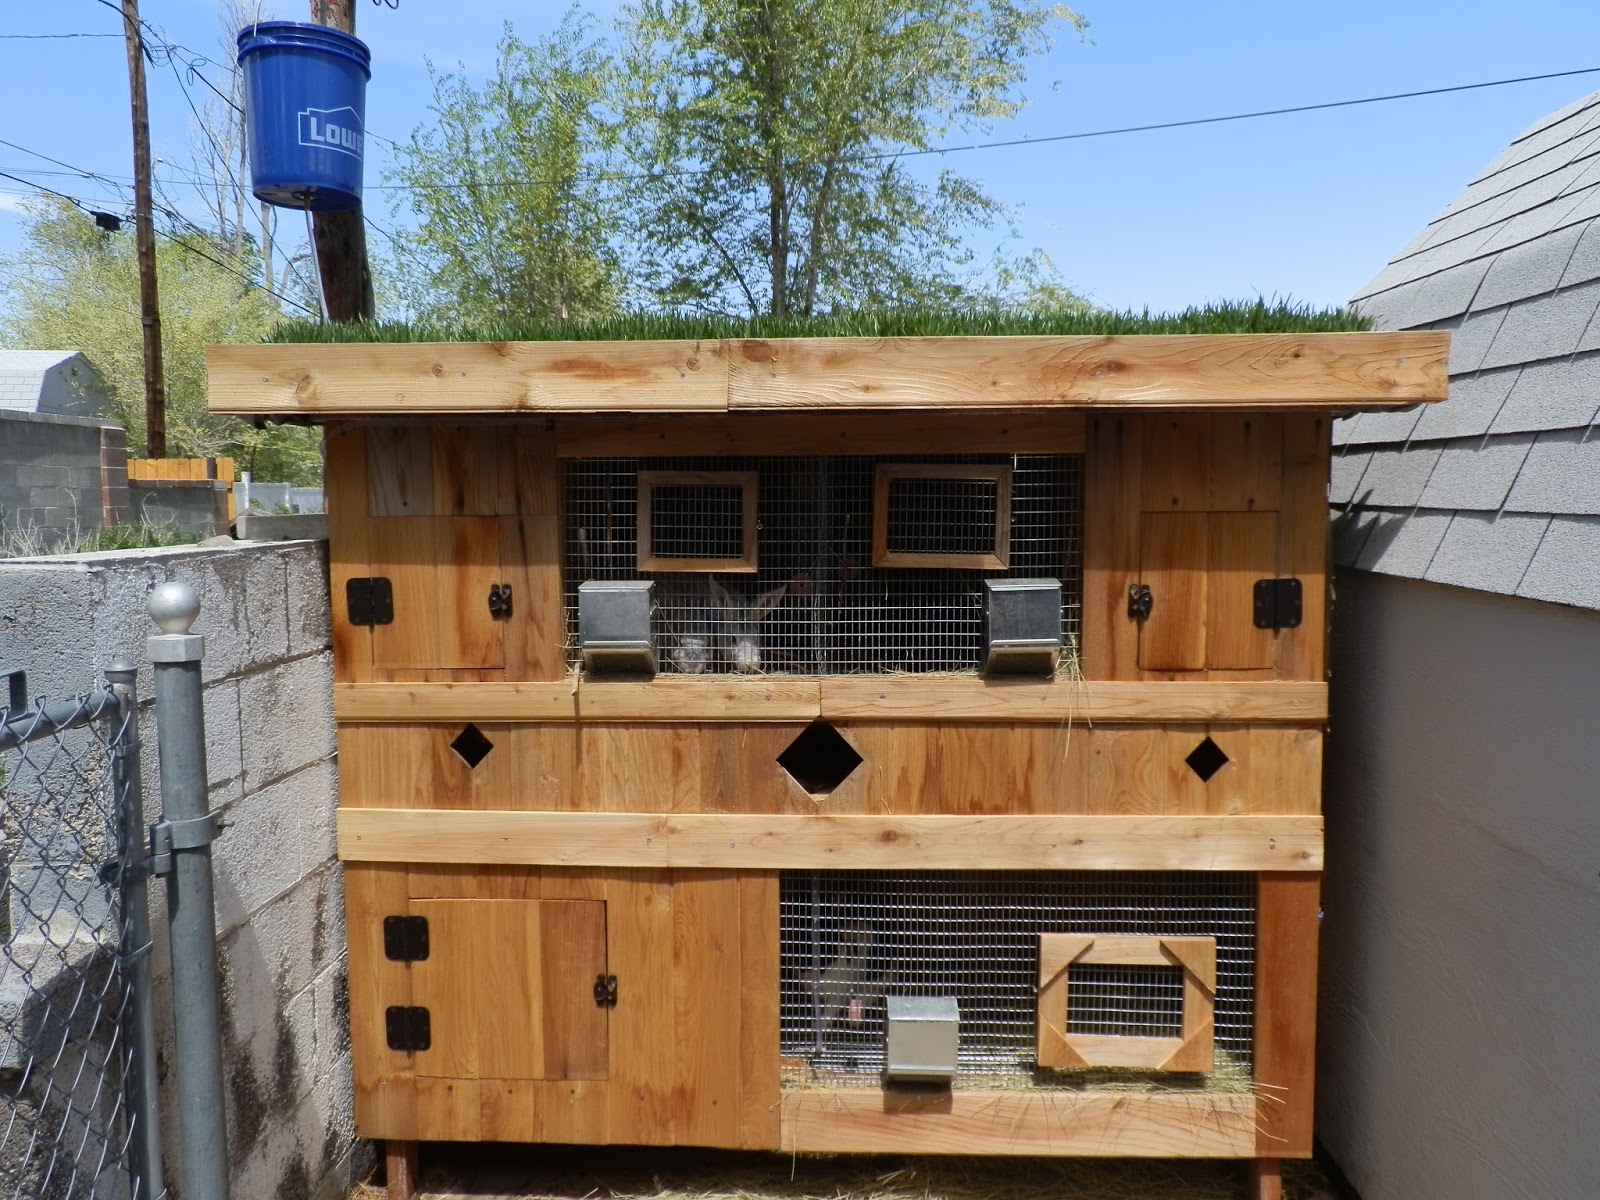
a dry system. I have chickens, rabbits and a coffee addiction. Most of my leftover kitchen scraps end up going to either my chickens or my rabbits. Leaving very little vegetable roughage for the compost bin.
We clean out the chicken coop once a week - each time adding a small pile of chicken droppings and hay.
A few times a week we clean out the rabbit area - only in spring do we direct sow it - all other times of the year it ends up in the compost pile waiting to be used.
Due to the amount of eggs I use weekly half get washed, crushed and returned to the chickens for calcium supplement. The other half end up in the compost heap.
Add to that my left over coffee grounds and you have something that would reek and overflow a wet tumbler system, not to mention kill off any worms.

My system on average takes a full year to break down. In the photo above, you can see we pulled the freshly added bits to the front. Exposing the richer, broken down lovely compost underneath.
That will be tilled into the ground this coming week when we start prepping for the main bulk of our direct sow crops.
(Its hard to tell from the photo but we have roughly a foot deep of rich composting material.)

Its a lazy system, we toss everything onto the pile, turn it over every other month and let nature take its course. Now because the poop is kept mostly dry and its mixed well with lots of coffee grounds our compost pile rarely smells! (this is a great thing)
Once the bottom has been raked/shoveled/scooped out and tilled into the garden the newer spring items will become the base for next year.

Once you've identified what's going into your compost, research the different methods. Check your space and be very brutally honest with yourself. If you like the idea of worms, like the benefits, but aren't great at long term follow through - its not for you.
If you've had problems in the past you may want to look at things again and see if you just choose the wrong composting system for what you have.
Again each system is amazing and will benefit your garden! I do not promote one type over the other rather encourage you to choose the correct system that will work best for your needs.
 Hope this helped!


Here are a few links to great DIY sites for each composting type - along with other tips and tricks specific for that type of composting.


Wet

DIY Barrel Tumbler
Compost Tumbler - this one looks fabulous!
Compost Tea

Dry

Wood Pallet DIY
Wood Bin DIY
Ultra Set up

Worms

Vermicompost - can handle some coffee grounds but only when mixed with a good amount of plant matter.
Introducing kids to worm composting
Highly detailed - Red Worms

http://ourbitofdirt.blogspot.com/

Thursday, April 21, 2016

Ogden Chicken Alliance


I adore my fluffy feather butts! My ladies, my hens, my gal pals! Whatever nick name I toss at them that day, one thing remains the same - I love my chickens!


Do I think that most urban cities need to have laws allowing chickens? Yes, I really do.
Frankly I'm surprised that from WW2 posters in 1942 encouraging people to raise chickens, that so many cities now ban them completely!


 To that end I stand with the Ogden Chicken Alliance!

If you can please donate to their cause, trying to make it legal to have backyard chickens! If you are strapped please share the links on social media! Click the link above to visit there page and learn more ways to help them!
Eggs from backyard hens are fresh, healthier and yummy! Chickens eat tons of bugs! Their poop breaks down into healthy good compost.
Plus they are friendly, playful loving animals that have truly amazing personalities!

Take a moment visit their page and see what you can do to help.
Us crazy chicken folk need to stick together!

http://ourbitofdirt.blogspot.com/

Wednesday, April 20, 2016

Lettuce


This is one of the first things my darling built for me and he did it because the compost bin he had been planning didn't work out the way he wanted!

Here is a link to how it was built and what is in it - Grow Box.
As always this was built by my husband, we used various items left over from other projects (mine and a friends). The only thing we had to buy specially for this project was the hardware.

This year in the back I planted Endive, Spinach, and lettuce in the front. Last year I had a harder time getting my second planting to sprout, it seems they decided that this spring was the better time!
So I have lettuce growing up with the Spinach and a mix of lettuces in the front two sections.
The back area where I planted the endive has a few lettuces and endive coming up but not much and very slowly so I will be reseeding that today!

I LOVE fresh lettuce, so does my entire family. We planted this early March and by the first week of May we should have lettuce to eat!

The first month or so when its cold and wet I keep the grow box closed, opening it to water and when we get a few warm hours of sun. It stays closed all night, allowing the warm air inside the box to keep the plants from freezing - giving me extra grow time.
Now that its warming up but still cool at night, I open it in the morning, water once or twice a day and close it again at night.
By full summer it stays open 24-7. Then closes again in fall. I'd love a proper cold frame that I can have going even in the dead of winter but at this moment 9 months out of the year is a blessing!

http://ourbitofdirt.blogspot.com/

Tuesday, April 19, 2016

Planting Peas


Taking advantage of a natural pea trellis, the fence separating the main yard and the chicken yard from the garden, as we've previously backed the entire fence with chicken wire to keep the chickens from squeezing through the fence.
This will do a few things, one give the peas something to grow up, give the chickens some fresh growing peas to munch on through the fence and will help add more shade to the chicken yard. Since I have several sections of fencing I've planted chicken peas and our peas - ones the chickens won't be able to get at through the fence.
This year I planted Heirloom Sugar Daddy & a few left over Organic Sugar Daddy from last year.


Before planting them I soak our peas roughly 10-16 hours. Until they are nice and plump. This helps prepare them for sprouting.

I planted them nice and close to the wall, even leaving a ditch for watering. Adding in rabbit poop with the soil for a boost.
The chicken wire comes down close to the dirt so it will be able to catch hold and climb quickly. Last year I planted the peas far to late, this year I'm praying we don't have a sharp frost wipe them all out!


http://ourbitofdirt.blogspot.com/

Monday, April 18, 2016

Welcome!


Welcome! Welcome! Welcome!

I realized the other day while blogging on my old blog that what I do most and love the most is play in our bit of dirt.
I love that we took it from a over grown disaster that hadn't been utilized fully in years and have made a haven.
Don't get me wrong - its still a work in progress! We hope to add bees, a green house, rain barrels, a patio area/stone grill and eventually a full aquaponics system!

So instead of continuing to mash everything into one blog - family, friends, outings, camping, movies and kids plus all of our yard projects, gardening, and animals. This will be my place to talk about our growing urban homestead.
While I am not an expert on anything, I do my research. I keep informed and follow many, many blogs and pages on the subjects I am either doing or wanting to do. I promise I won't post weird random things that have no merit. I'm open to learning new things and love discussions on topics of homesteading!
Just like composting, there is more than one way to do many things!


So far we have 9 chickens (all hens), we have 4 rabbits (1 male, 3 female) a large back garden, a kitchen garden, a grow box and a compost bin. This year we've added in raspberries and blackberry bushes - not easy to grow in Northern Utah but I'm crossing my fingers that my coffee addiction pays off!

I'm Telisha, mid 30's, wife, mother of two active growing kids, who loves to garden and cook.

We are a chemical free, free ranging, veggie loving family! 

http://ourbitofdirt.blogspot.com/