Sunday, June 19, 2016

Summer Time


The peas are doing fantastic - even with the chickens pecking through the fence stealing bits whenever they can!
We also planted Zucchini.
I don't have any gorgeous photos - only lovely dirt water wells that will soon become Zucchini.
 If you live in Northern Utah - Zucchini is a garden MUST.
You can't grow them wrong, they grow like weeds here!


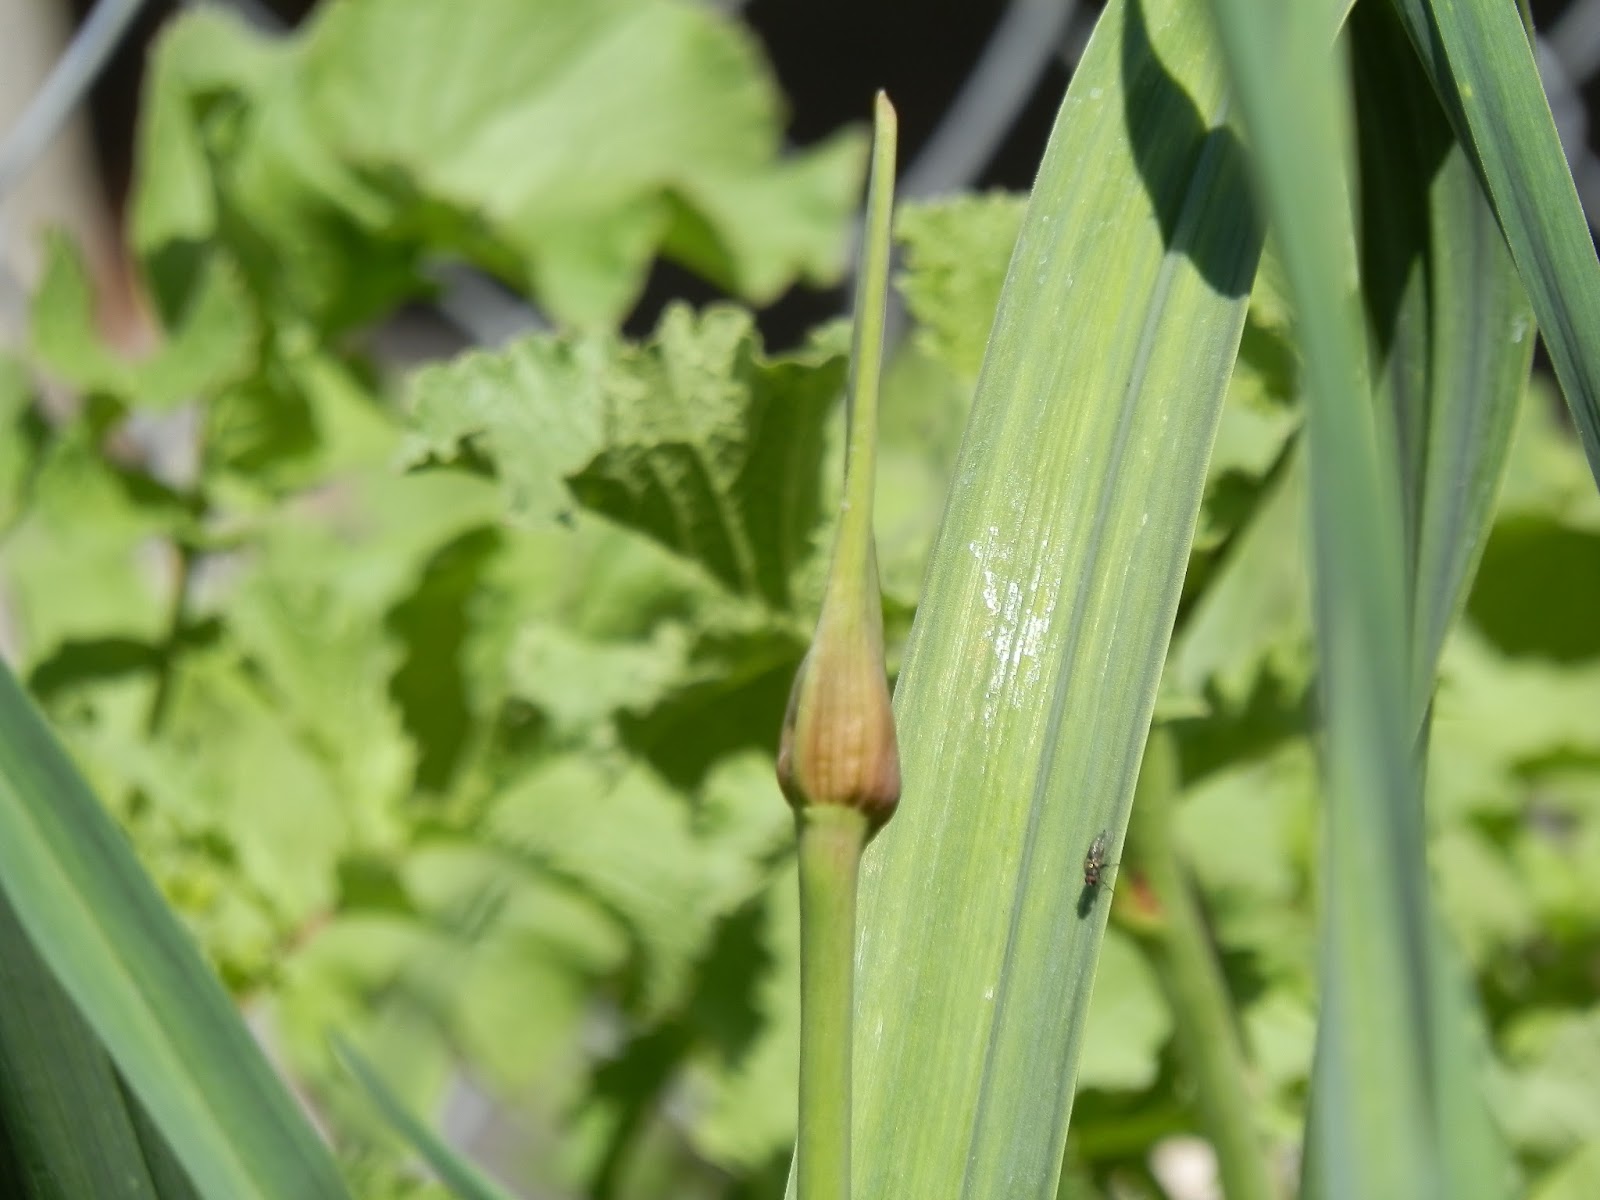
I planted Cilantro in the corner of the herb garden. Hopefully this will be the perfect spot. Its full sun.
Which is why the Mint stopped growing into that area, the mint is massive but is reluctant to grow out into the sunlight, it prefers shade. I don't see that changing greatly no matter how invasive mint can be it really likes it cooler.

The Lavender I was trying start inside only had one seed sprout and then died off, so I will be trying to direct sow the seeds into the opposite corner - again.

I'd also like to add Oregano, Thyme and Rosemary. While I have tons of grand plans for this area - including hanging baskets off the fence for some smaller herbs.We add to our garden slowly. 
One thing at a time and see how it goes.

I've had several people ask me how I managed my gardens, chickens & rabbits and why I would talk about adding even more (bee's, aquaponics & a green house).
Its because we add one massive new thing a year.
Two years ago it was chickens.
This year rabbits.
Adding one thing to everything else makes it manageable for me. I don't get overwhelmed because I have a routine established and have already learned how to care and manage the rest.
Being a newbie on one subject, not all at once.

Being raised in a modern/urban world I didn't grow up with parents or grandparent's that had livestock and kitchen gardens. 
My grandma Thornton grew one plant (really well I might add)
but still only ONE.
I can only hope and pray next year I have enough Blackberries so I can make her Blackberry pie recipe.
That said, many people are coming back to self sufficiency.
Wanting to control their food source to eliminate GMO's, certain grains, chemicals, healthier animals, save money, no matter the reason - America in part - is coming back to nature.
Most of us are doing it alone, searching out books, online help and advice.
Learning by success and failure.

Which is why I will always be honest with you.
I will share my failures, as well as my successes.


Saturday, June 18, 2016

Planting the Tomatoes


When it comes to tomatoes we've had a rough time. 
This year we've finally ditched the dumb hanging planters that swear to give you large yields but last year netted us 3 tomatoes on three large amazing plants. This year we've already started out needing to doctor our tomato plants.


We've pulled out all the stops by adding fish heads & bone meal into each hole.
We planted 6 Homestead heirloom & 4 Sweet Million.
The homestead are large beefsteak tomatoes.
Sweet Million are cherry tomatoes that are supposed to vine down. 


Friday, June 17, 2016

Cucumbers


Moving them into full sun - really worked. There have been times I've not noticed a difference between full sun, partial sun and no sun regardless of the recommendations. 
Cucumbers, full sun is not optional, its a must!

I will thin them later - but with the trellis I shouldn't have to thin them as much as if they were fighting for space on the ground.
My worries of not having enough cucumbers this year should now be pointless! 
Whew! 
I really need a massive harvest this year! I want to make butter pickles, dill and sweet pickles. If I have enough pickles left over I want to make homemade pickle relish as well.
Of course starting so late in the year I realize I might not have as much as I would have if I had planted in the right spot at the beginning of summer.
Already these cucumbers with their first leaves are taller than the ones I planted two months ago that have their true leaves growing!
At least I have the perfect spot for growing them next year!

Thursday, June 16, 2016

Early Summer Garden


Our carrots are growing amazingly well this year! 
Soon we will start to thin them out, giving some to the rabbits.
Some will go into a salad for us, pretty much any carrot over an inch you can eat!
The two that are flowering and seeding will give me enough seeds for years to come.
Last year I learned an amazing recipe using cut carrots, butter and fresh dill - it was amazing!
Everything including the corn (not pictured) is growing well this year!

Already I'm on my second planting of lettuce 
(the two back boxes of lettuce)
The front sections of lettuce are still amazing!
Even though I've thinned them at least three times so far!


Fresh garden salads are one of my favorite summer dinners!
Toss on some boiled fresh eggs and YUM!

Wednesday, June 15, 2016

Happy Hens & Eggs


The Happy Healthy Fluffy Butt Club!


So far this summer my girls are doing great!


Finally I've been able to get a good photo of my olive egg next to one of my light blue eggs!
I know the light one looks white but its a lovely light blue.
So far everyone is doing great and having a fantastic summer!


Tuesday, June 14, 2016

Re-Seeding the Wheat


Roughly two months ago we cut the rabbits grass for the first time.
To see that blog click HERE
From that day on, we've cut it almost everyday!
Two months of cheap, fresh, healthy feed for the rabbits!

As you can see from the first photo its starting to "stalk" where it grows a thicker dry husk at the bottom.
Checking under it and seeing the amazing root system we cut it as short as we could 
(to get it to grow back green again).
We also added a few more wheat grass seeds on the top and then covered it with the cut thick stalks to keep the birds from the seeds.
Over the coarse of this week we will finish reseeding, cutting and restarting the grass.
Even if we need to do this process every two months into the fall it will still save us a ton of money, keep the rabbits cooler and healthier!


Monday, June 13, 2016

Cucumbers & Kale


So our cucumbers (three plantings worth) have come up, but slowly and barely. 
To increase our yield we moved the large frames to the middle of the garden - full sun!
In the front we planted kale & in the middle of the frames we planted kale.

While I've never cooked kale in my life, my husband seems to really want to try it.
As always I will learn how and add it into my repertoire.

Now don't get me wrong the few cucumbers that did come up in the corner where we originally planted we will try to vine up pallets.
I'm not giving up on them, but two years ago I pickled cucumbers for the first time.
Ever since my family has been looking for a massive haul so I could fill our pantry with home made pickles for an entire year.

 I love that my family enjoys my cooking and is 100% certain its the best ever, 
I just pray my garden will accommodate their wishes!

Funny enough I'm allergic to raw cucumber - cooked or pickled and the enzyme I'm allergic to breaks down but fresh is a HUGE trip to the ER for me.
I guess its a good thing my family loves my pickles so much!

Sunday, June 12, 2016

Preserving Dill in Olive Oil


I have SO MUCH Dill this year! I've cut and cut and cut it!
I've cooked, baked and given it to the chickens & rabbits.
I've given some to friends & family, I've dried bunch after bunch for the winter.
Funny thing about Dill - they more you cut the faster it seems to grow!


My forest of dill in the garlic - soon I'll be able to harvest the garlic. I'm no longer worried about the dill surviving when we take the garlic out. Even if we lose a few plants I doubt I'll notice!
First what I did was cut a very large bunch of dill.
Then I separated the large long stems that are better for hanging and drying from the smaller sections to cut up for freezing in oil.
Then I went through and removed the stalk, when cutting you only want the finer dill.
Finely chopping the dill, adding it bit by bit into my ice cube trays.
Once all the dill was portioned off, chopped or hung,
I added Classic Olive Oil to the dill - barely covering it completely.
For me each cube was roughly half deep in the tray, add as much as your cooking tastes prefer.

I added the classic olive oil instead of the more popular virgin or extra virgin for a more delicate soft taste in the oil.
I plan on using the oil/dill cubes for grilling fish & other type dishes.
Cooking or grilling EVOO or VOO can change the taste to something more bitter.

Now you can freeze dill in water,
HOWEVER
if you do that, you'll be adding water into whatever dish you add the dill to.
Next time I may add a half of lemon slice to each ice cube tray, marking the bag especially for fish dishes, but I personally will stick to oil.
I froze the cubes overnight but the standard time should be 4 hours or more to freeze a full tray.


During my checking of the dill sections I found one stalk not like the rest.
It had two small sections of bright tiny yellow eggs.
Those are lady bug eggs!
Lady bugs are GREAT bugs, so I took that stalk back outside and placed it underneath all the rest of the dill to protect the eggs.

Saturday, June 11, 2016

Egg Shell Dispenser

This lovely Egg Shell Dispenser happened today. 
A few weeks ago I showed my hubby two fantastic dispensers I found off pinterest.
Fresh Eggs Daily's
My girls needed a full time dispenser and they looked easy enough for me to do without help.
So what happens when I ask my husband for a correct sized board?
He disappears for a while and when I check on him I find this!
My darling spoils me!


We nestled the feeder underneath one of the nesting boxes to keep rain off of it!

To attach it to the chicken wire of the night coop my husband bent two large nails downwards.
Making it easy to refill and clean!

(I'm not a wine person so mine was a washed out coconut rum bottle but any glass will do)
As long as its easy to fill and pour.

No matter how it looks, its important to offer your chickens either crushed egg shells or oyster shells! They need extra calcium, one of my girls egg shells has been getting really thin.
Hence the need for a full time dispenser!
Giving it to them every now and then isn't enough!


My ladies needed encouragement to investigate the new toy,
I sprinkled some crushed eggshells on the ground to get their attention to the new dispenser.
So far (day one)
I've had two ladies eat directly from the dish and two happily eat all the bits I dropped on the ground.
Will need to slowly work on the rest tomorrow!

Friday, June 10, 2016

Doctoring Tomato Plants vol.1


Ordering things online is always a risk,
this time I watched our postman 
(thankfully only the fill in) 
throw our package boldly marked FRAGILE on the ground.


If you look closely you can see the tiny slit.
Almost half of my new tomato plants were bent.
Using toothpicks and medical gauze I bandaged them up as well as I could.
Thankfully the seller promises to send more.
In the meantime my goal is to keep this bunch alive!

  
I'll post updates on their progress


Update: 6/11/16
We've lost two of the broken
but it seems four of the broken are doing well.

Thursday, June 9, 2016

Cooling off!


Summer heat is very hard on rabbits!
Rabbits can easily die from several different types of heat related deaths, so for small rabbitry's like ours its very important to help them beat the heat.
We make sure they have shade, water and a few things to help cool them off.


I took several washed out glass bottles, added water (little over half way) 
kept the lid off (so it doesn't explode when the ice expands)
and then placed the bottles in the freezer.

Once frozen I waited a few days for it to heat up and then took these out and added them into the cages during the hottest part of the day.


Summer is just starting here and we are still in the low 90's.
As it get hotter and stay's hotter longer, I'll be taking bottles out twice a day.
Once in mid-morning, once in the afternoon.

Blackthorn, really seems to love her little cooler.

Wednesday, June 8, 2016

Harvesting & Storing Radishes


Let me take a quick moment to confess something - I'm not a huge fan of radishes. They have a sharp taste that makes it hard to add them into different dishes - normally I only add them into salads & soups.
So why do I grow them?
I grew them last year because crazy enough I was given free seeds - only reason - not kidding.
Once I saw how quickly they grew and how gorgeous they are in the garden I decided to make them a more permanent part of our lives.
After getting rabbits and finding out how much they LOVE radish leaves these are now a must have!
However, what you plant, you get. ALL at once! Sure I was able to pull a few up now and then over the last month but there comes a time when you need to pull them up before they bolt, seed and become tougher and harder to chew.
Today was that day for us!
So what do I do with a sink full of radishes? Turn to Pinterest of course!
I found how to store them in the fridge and how to pickle them - following their how to's I set to work.
As to how they work? I'll update you later on that!


My photo following the directions at the link below
The top photo is this continer, from the top view


My photo before I added the liquid to pickle the radishes!

Both experiments look lovely!

We replanted the area but this time instead of a second go around of radishes we are planting kale.
Kale, I've been told loves the heat.

Tuesday, June 7, 2016

Drying Herbs


Harvesting Mint and Dill today!

This spring my herbs are growing fantastic! 


While I have more than I can use fresh - I figured BEST time to harvest for winter!
Everything is fresh, growing quickly and hasn't had any heat issues.
The basket in the photo above hubs made for me -  I will be posting the video how to soon.

For the dill I cut, tied and hung.
Very simple.
For the mint, as until the day before it had been open to my dog, chickens & kids.
I washed the leaves, dried them off, then tied it and hung it.
Making sure to wrap it tight around the base of each.


My downstairs food storage room is cool, dry, with low lighting.
It also has this wonderful drying rack (aka coat rack).

Later on when I have more herbs to hang & dry my husband will put up my large pot rack.
It won't fit in our kitchen, but would be perfect for drying up to fifty different herbs.
Each year I am adding more and more things!
Can't wait for more fresh herbs!

After I hang them I add paper bags, marking the herb & date, the paper bags will do a few things. First it will help keep the light off, collect any leaves that fall, as well as keep the dust off as they dry!

To keep the paper bags from falling I used clips - the tops fit inside the coat rack!
That way it won't be able to slip off!

I am adoring my garden this year! 

Monday, June 6, 2016

The Mint Fence

Cost $0.00 - Time 4.5 hours

As I've posted about a few times previous I love my mint! For the last almost six years I've let kids, our dog & then chickens to run or play on it - even my husband mow over it while trying to get it to fill in a bit more.
This year my darling chickens weeded it out for me in the early spring.

I've jumped at the chance to make it a proper mint patch by now adding a gate! I really want to know that nothing has been pooping on my mint! It would make harvesting it a few steps easier!


First we cleared the space, dug out the holes and then put in the support posts. To hold the support posts up we used large rocks to fill the holes. Placing them down tightly so they won't move.

Being on a very tight budget (flat broke) we used some really great wood we were able to get for free from a company that allows scrapers like myself to come and get their broken frames & large pallets.
The pretty wood fencing came from a friend of ours company.


They sell the wood fences to large box stores - however every now and then things get damaged either in shipping or in the warehouse - he has sweetly given us a few of the damaged pieces. We replaced broken boards or cut around the damaged parts and voila - free fencing!


We added a gate in the middle so that I have full access to my mint and future lavender plants. (Not sure what other herbs but this is going to be home to my future herb garden. Possible Oregano, Lavender & Sage.)


My darling even made a matching gate bar to keep it closed. We plan to add chicken wire to the back of the fence (I have some left over from when we fenced the coop). However, so far the chickens haven't tried to get through the bars and into the mint. Pretty sure they think its like the other fences they can't get through!
We even dug out some paving blocks, re-adding them as our step entry into the mint patch!


Did it take lots of extra time to find the free wood, pick it up and take it apart - YES.
Would I rather pay in time than in money - yes, a thousand times yes.
For those with a better budget I'd estimate this project would cost between $90-120 depending on the size of the area and what type of fencing you choose.

Sunday, June 5, 2016

Silly Chickens


One chicken going up the stairs


One chicken running/hopping down the stairs!


Saturday, June 4, 2016

Projects & Dirt


Weekends are for projects and weeding!

Our kitchen garden is flurishing!

We have carrots, garlic & dill, and radishes all planted.
You can see the three large carrots in the front - two of them have sprouted flowers to seed!

The dill came up this around the garlic we planted in the fall.
Last year I let my sparsely grown dill go to seed - then harvested thousands of dill seeds.
Fully planning on planting hundreds to get better growth this year.
Instead either the plants came back (which they can) or the seeds that I didn't manage to harvest all sprouted and came up.
Either way I am in HEAVEN with my dill!
I use it in fish dishes, baked carrot dishes and of course to feed to the chickens.
This weekend I cut a whole bunch to start drying for the winter!

Also we started two projects I hope to share with you soon!

Eggshell dispenser for the chickens
&
A Garden Basket for Veggies 


But there is time for play as well!

Friday, June 3, 2016

The Running of the Chickens


Every day, my ladies give me blessings!
They come in all shapes and sizes!


Two girls playing on top of the night run.
As much as they love their large day run, they really enjoy being let out into the main yard to run around and cause havoc and mayhem!  


More on the care and the why of the wading pool click HERE.


Thursday, June 2, 2016

The Littles


Our lovely baby carrots are really growing well this year!


Last year when harvesting our carrots we missed a few (out of hundreds) 
so I decided to let them grow.
Carrots are biennial - 1st year you get the vegetable &
when it grows for a second year you get SEEDS!
I have a few wonderful flowers that will be dropping carrot seeds for next years planting!
My long term goal is to reseed my entire yard from the previous years seeds.
I'm at a quarter of the way there and having carrots seeds of my own is a huge next step!


Our garlic is budding!
When the plants are healthy they can send up a top garlic bulb!
Pretty much its an extra - we have two growing at the moment!

Corn, squash, peas, cucumbers are all growing fantastic!
Pumpkins, berry bushes, herbs & more all growing all thriving!
Some are tiny - but in a few months!
Thrilled we have so many doing well already!

So far the only thing we need to replace is our tomatoes - our littles died.
We will be doing that later on - hopefully after payday!